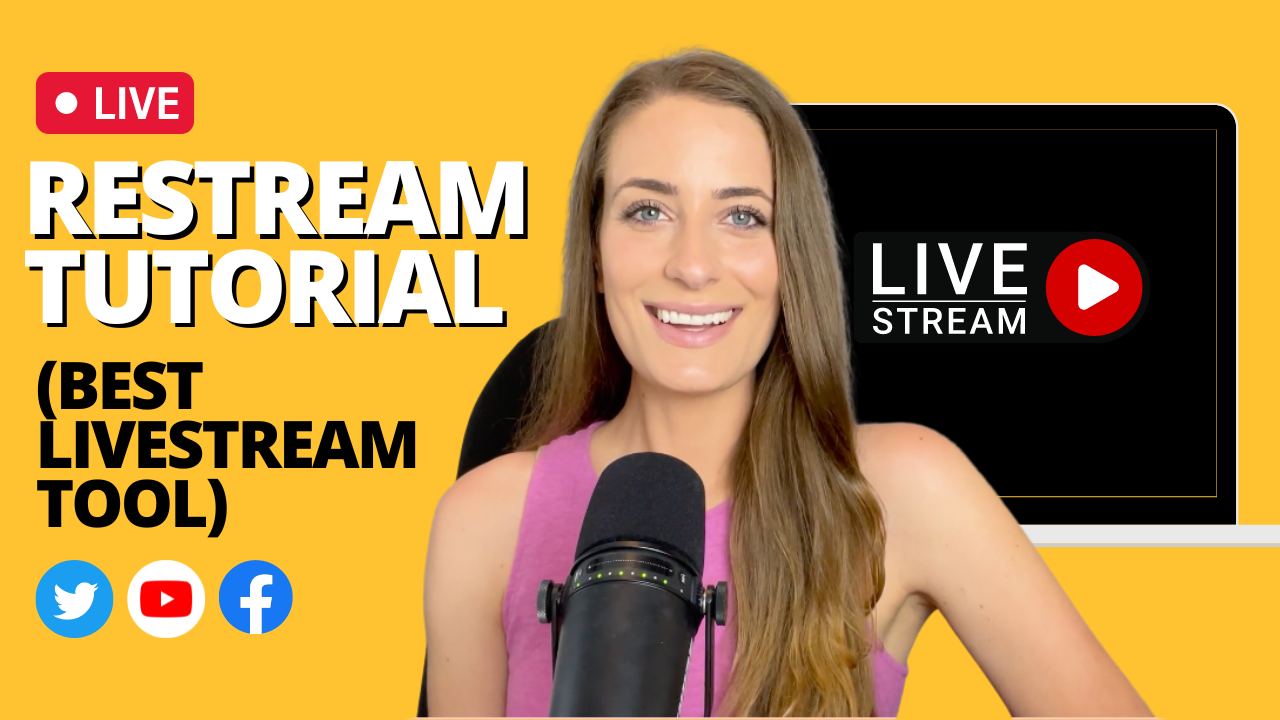
Best Livestream Tool: Restream io Tutorial 2022 🥰
Heads up: I use affiliate links for my fave products. If you click and purchase, I may receive a small commission at no extra cost to you.
Restream allows you to stream on multiple platforms at once (Facebook, YouTube, Twitter + more), add cool overlays and so much more!
HIT PLAY OR READ THE POST BELOW:
Transcription
In today's video, I'm going to share with you my newest obsession 🤗. Seriously, this tool is so fantastic and it makes live streaming so seamless and easy. The tool is called Restream, and I discovered it because recently I wanted to go live on both YouTube and Facebook at the same time. Restream not only made it easy, but it allowed me to make my videos look super pro 👩🏫 as well. This is one tool that I use a ton right now, but click here if you want to see all of the other tools that I use! It also allowed me to manage all of my comments from different places. Now I’m going to show you how you can do it as well. If you're new here, hi! I'm Louise 👋. I'm an online business strategist. Here on this channel, I share my best tips and tricks for building an online business. If you are an online business owner, definitely hit subscribe here.
Setting up Settings
When you are logged into Restream, to go live all you have to do just click Stream with Studio. You will open up the studio in Restream, where you can adjust your settings and make sure that you are connected to the right webcam and microphone.
-Go down here to this gear icon, and click on it. It will look like this:
-Under the General tab, make sure you select your stream quality. I use Full High Definition.
-Next, go to the Video tab and double check your video input. This is the webcam I want to be using.
-Then go into Audio and make sure it is on your microphone.
Graphics
Once you are finished with the settings, you can set up your screen presentation and branding. Your screen will look like this, and we will be focusing on the Graphics tab on the right column:
-Under Theme, you can choose how your name will appear. You can edit the color to be on-brand by choosing it in the color wheel below, or by typing in your RGB hex code to the right.
-If you want a Logo on-screen, you can add it under that tab.
-In the Overlay tab, you can do something really cool and you can add a full overlay to your video. That's what I chose to do for my upcoming challenge. I created one that allowed me to make my live streams look even more on brand. I’ll show you how to do that in the next section!
-The Background tab is pretty self explanatory. Play around with it and see which one you like best.
Canva Overlays
Canva is going to allow you to design pretty much anything that you need in your business. To create an overlay, just click Create a Design, then start typing in “presentation”.
-Click the first option, which is Presentation (16:9).
Once you have selected the correct template, you will want to take some time making your overlay how you want it.
-Under Elements, you can add an on-brand border.
-Add your logo, text, shapes, whatever you want.
-Once complete, click Share.
-Make sure your file type is PNG, and you select Transparent Background, like this:
Choose what to Share
Once you have your screen looking the way you want, it is time to choose what to share with people. Click the Share screen icon in the middle of the screen, here:
-In the popup, click Window, and choose the window that you want to share.
-You will see the window to the left of your screen. Turn it on by clicking the button in the top right.
You can also use that button to turn off your window when you want the screen to go back to showing just you!
Comments
When you go live in different places (let’s say you're going live on YouTube and on Instagram), people will be leaving you comments. For you as the presenter, you can actually click on Chat and you will see all of the comments across the different platforms. You will see them under the Chat tab, and if you want to display one of those comments, all you need to do is hover over it and click Show.
The comment is going to come up on your screen as well. Just imagine if you were doing a live Q and A, just how handy that would be. In addition, there's actually an option for people to connect their Facebook to Restream, so that when you share their comment, it also shows their name and their profile picture.
If you want to add some text on your screen, you can click Captions and you can absolutely add them. You can either have it in the lower third of the screen, or you can display it as a ticker, or both.
Inviting Guests to your Stream
You can click Invite Guests in the top left of the screen to go live with you. Once they have joined the Restream, you can actually hide them just like you hide your own screens, so that they're not on video. You can have a Private Chat down at the bottom with everyone that is a presenter, also. That chat will not appear on-screen.
Destinations and Stream Details
Now, let's actually set you up to go live. So first things first click edit up at the top of the screen.
This is the stream details, and will go out to your audience, so make sure you edit it to how you want it. Once you have edited your Title and Description, you can choose your Content Type. Click Next.
-The next screen is where you will define your destination, so click Add Destination.
-Choose where you want to stream to. I use Facebook Live.
-I then click Group, because I am hosting my challenge inside a Facebook Group.
-Choose which group you would like to add your Restream to, and follow the on-screen instructions.
Once added, it will show in your destinations like this:
If it is on, that means it is going to go live inside of that group. If, instead of Facebook, you wanted to go live on Youtube, you would go through the sam steps to connect them. As you can see, you can go live in a ton of different places.
One thing to remember for Youtube specifically: make sure you edit your title in your Destinations before you go live, so that it shows correctly.
Going Live
Once all of your settings and screens are correct, we can click Go Live.
I would highly suggest you test a bunch, so that when it does come time to have to do it live, you are super comfortable and you know exactly how it all works.
There will be a little bit of a delay when you go live. Just keep that in mind if you are talking back and forth with people. Last time I did a presentation, it was like 5 or 10 seconds.
Once your stream is complete, you can actually click Download recordings at the top of the screen to download them all to show later!
Wrap Up
That is how you use Restream! Let me know in the comments below if you are as obsessed as I am. If you will be using this in an upcoming live, and if you like this video, let me know by giving it a thumbs up. Don't forget to hit subscribe if you haven't already, and I'll see you real soon with another video! 🥰


Save time & mental energy by setting up Asana rules!