8 Kartra Tricks You Need to Know
Heads up: I use affiliate links for my fave products. If you click and purchase, I may receive a small commission at no extra cost to you.

HIT PLAY OR READ THE POST BELOW:
WRITTEN INSTRUCTIONS:
In this video, I'm going to share with you 8 Kartra tricks you need to know. I wish I knew these earlier - they're going to save you a lot of tech headaches and make using Kartra easier.
What is Kartra? 🚀
Kartra is an all in one sales and marketing platform that allows you to host your online course or membership and do everything that you need to make sales of it as an entreprenuer or coach.
Trick #1: Delivering a Freebie To Your Audience 📲
The first trick I want to show you is delivering a freebie to your audience.
For this, the very first thing you will need is a signup page like this, where they will enter in their name and email in order to get that freebie:

So this freebie can be anything you want. This can be a video, a PDF, a template - anything goes!
And a really quick and easy way to provide that is to just display it on the thank you page. So you're going to create a thank you page, or you can actually just use one of Kartra’s. To give away a PDF or some sort of file, you just need to make sure that there is a button component on this page so that they can click the button to download the freebie.
In Kartra, I'm going to click on the pencil icon, and then “link”, then “download a file”, scroll down and select your file (this is going to allow you to upload a document). So you'll just click “select files”, open that up from your computer and you are good to go!
And if your thank you page doesn't have a button, that's no problem. In Kartra, you can just click on “components” and then “buttons”, grab a design that you like and drag it in to your page.
Now, let's say that you're doing a video freebie. That's also really simple to do! You're going to go to “components”, “videos”, drag in your video block, click on the pencil icon, and then you're just going to select “video” and upload that!
So that's a really simple way to deliver your freebie. Just make sure that the form on your signup page is connected to the thank you page!
Trick #2: Generate a PDF link 🔗
The next trick: sometimes you just want to provide a direct link to a PDF, right? Sometimes I do this to share assets with students. This could also be freebies as well!
To do this in Kartra, you're going to click on “media” and then “files”, then you're going to upload a file. I’m going to find the PDF I want to share, I'm just going to click on that, then click “next”, and that's going to upload.
Then, as you can see, there is a little link icon right next to it:

All you have to do is click on that, and this is going to give you a link that you can share out with your students or your audience!
So I'm just going to copy that, open it in a new tab, and as you can see, that has opened the PDF, and they can just click here to download it to their computer:

So I use that all the time to share different assets, and it’s quite handy!
Trick #3: Create an Unsubscribe Link 👥
The next thing I want to show you is how to create an unsubscribe link. Often during a launch or promotion, you're sending a lot of emails. So what I like to do is, at the bottom of the email, provide a link where people can click on to unsubscribe from just that launch or promotion.
So it won’t unsubscribe them from my entire list, but I'm giving people an option to opt out of that promo if it's not a good fit for them. So this is something I recommend you do in all of your launches.
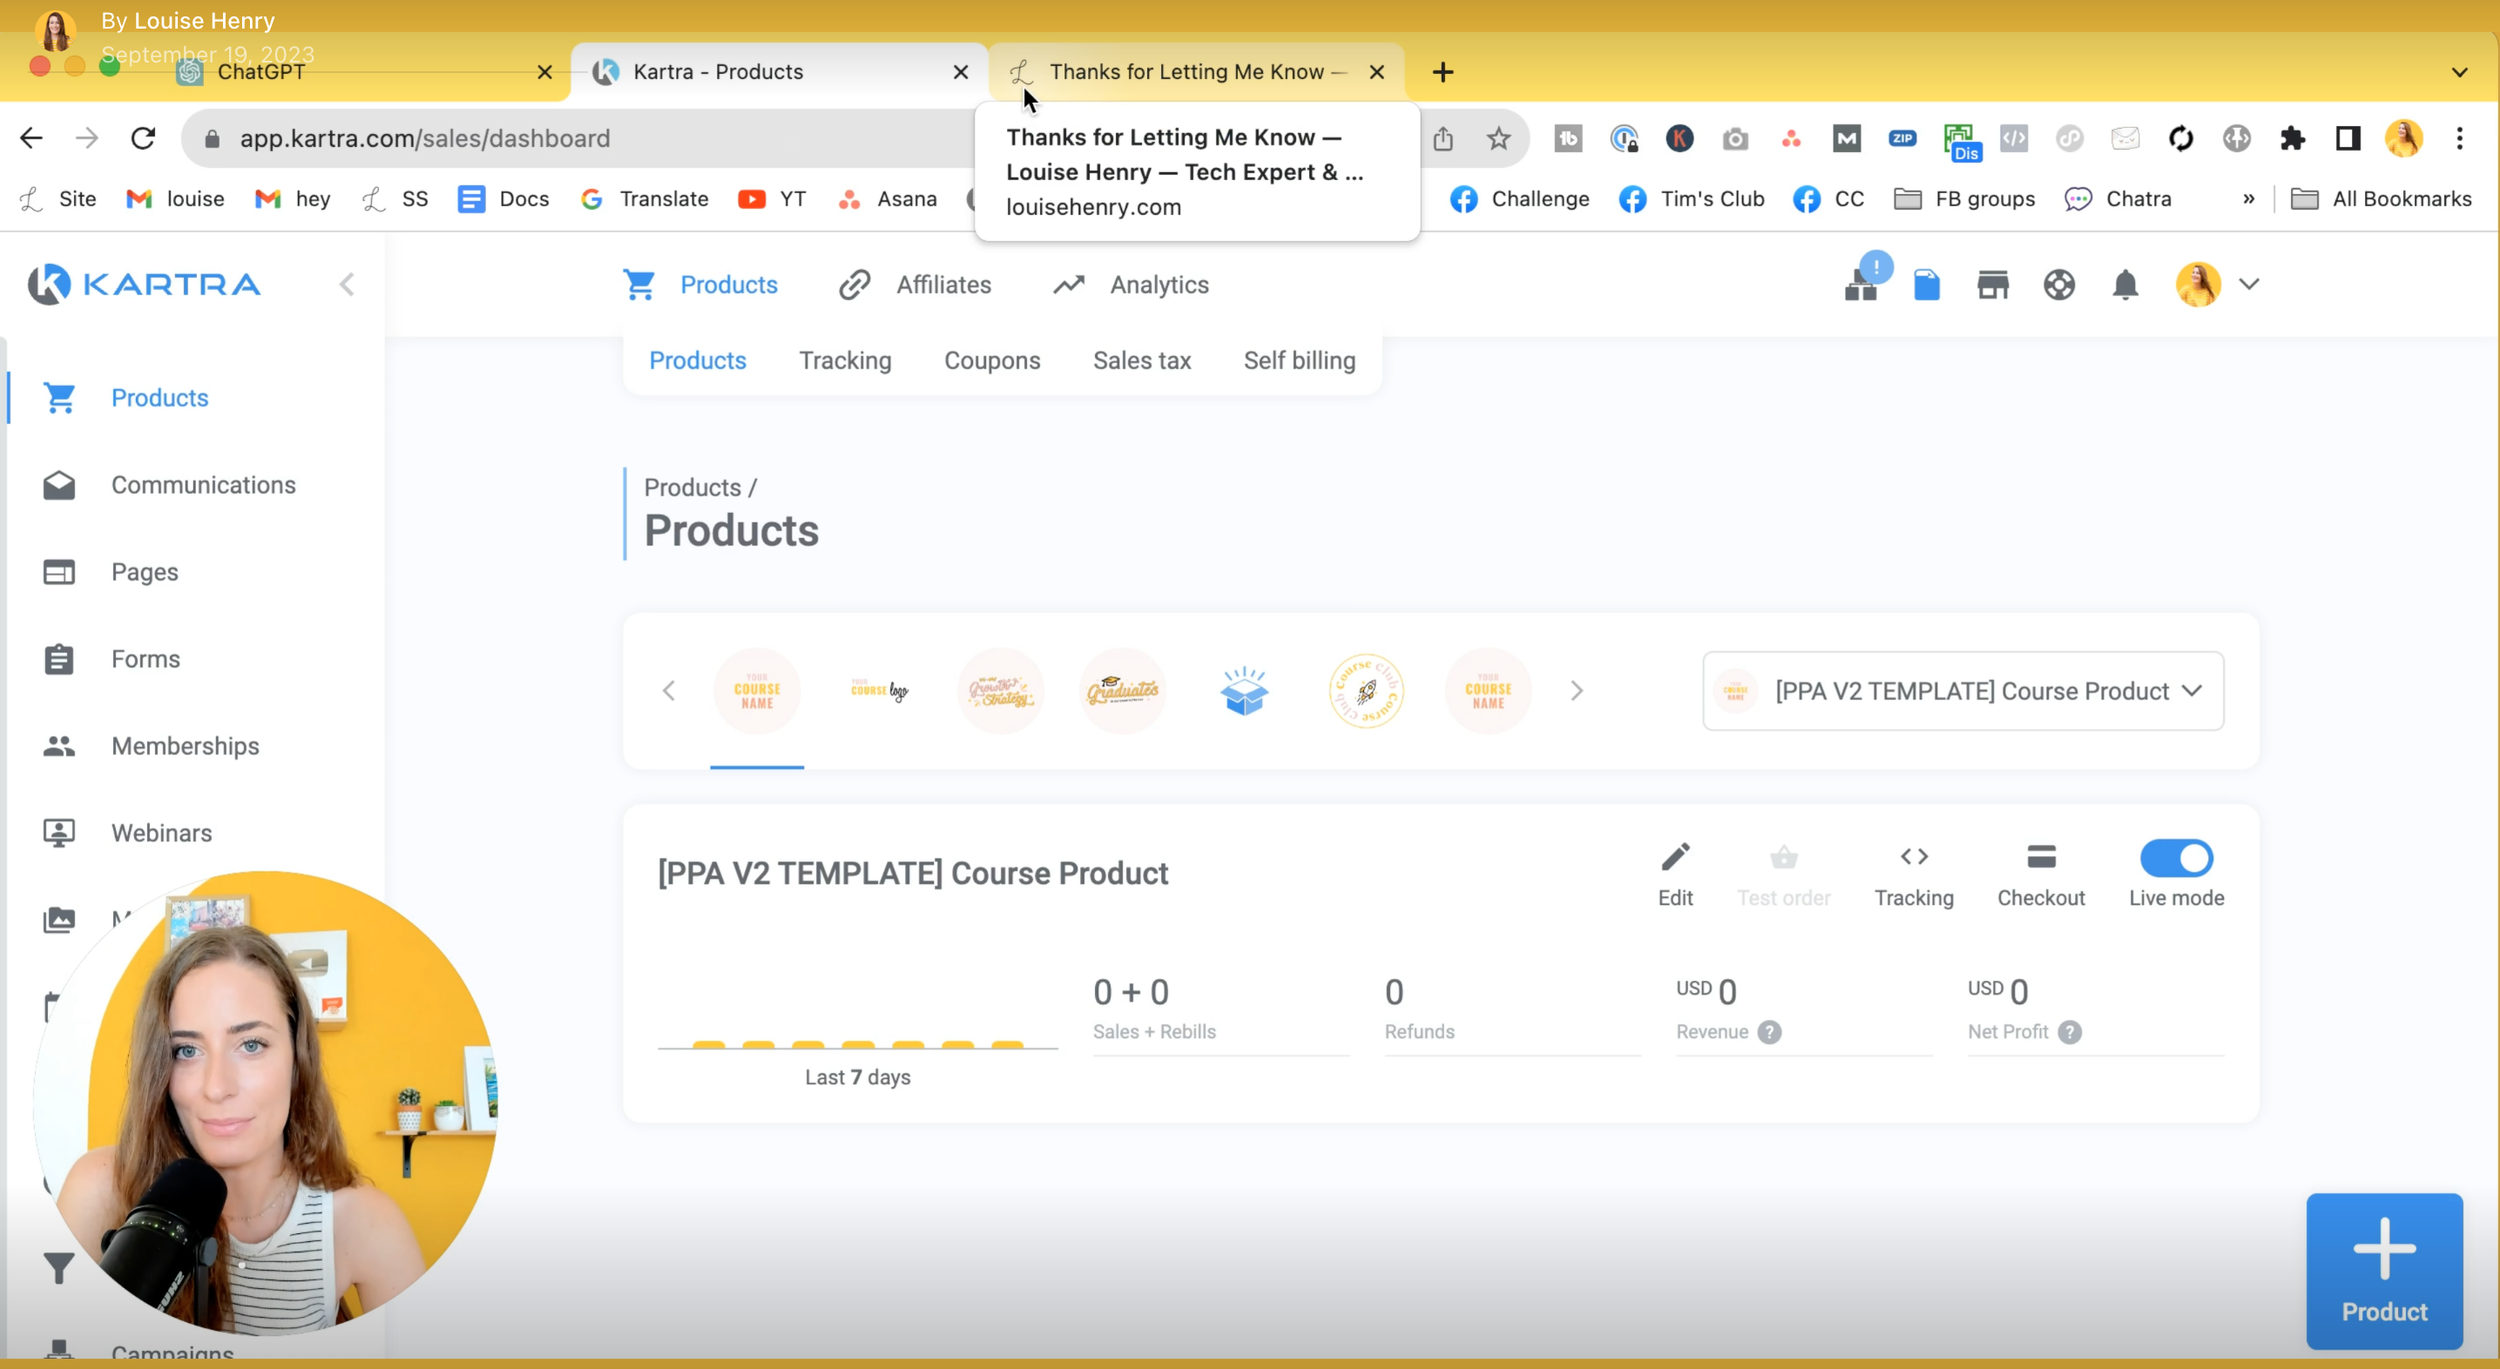
To set this up in Kartra, you're going to click “products”, then “tracking”, “track link”, you're going to call this “do not email”, and then your promo name. For example:

So then what you want to do is create a page like this:

This is one page I've created that I use anytime I create an unsubscribe link. So I have “thanks for letting me know, you won't receive any other emails about this”.
We're going to grab that link and back here in Kartra, we're going to paste that here:
And this can be an external URL or a Kartra page.
Now, hit “next”, “track clicks only”, and then add tags. This part is really important! We have to add a tag. So I'm going to create a new tag; again, “do not email”. Then I'm going to hit “create”, “add”, “next” and don't worry about this next part. You can just hit “create” and then you get your tracking link.
So now if someone clicks on that, it's going to actually go to that page. Then when you are sending out your broadcast email, at the bottom, you could say something like, “not interested in Uplevel with Asana right now? No worries. Click here and you won't receive any other emails about it.”
You're going to highlight that, hit the link icon, paste in your tracking link and you’re good to go!
So now if someone clicks that, they are going to be led to this page and they're going to be tagged as “do not email”. So then in your next email, you just need to make sure to exclude everyone with that tag.
This is how people can opt out from certain promotions, but still stay on your list!
Trick #4: Create Anchor Links on Kartra Pages 💻
The next trick I want to show you is how to set it up where if you click a button on a Kartra page, it automatically drops to another section on the page.
So for example, on my sales page on my website, if you click the button at the top of the page that says “join now”, it's going to automatically scroll down to the pricing table section so that people can go ahead and enroll.
So how do you do this? 👇
In the page editor of Kartra, all you need to do is scroll down to the section that you want to link to (for example, here's our pricing table section) and then you need to go over here to the right where there's a gear icon in blue:

We're going to click on that, and then as you can see, this is section 21. So it's going to tell you what section number you’re on - and this is important!
Let's scroll all the way back up now with our button - and you need to use a button for this - and we're going to click on the pencil icon and then link icon. Then, select “scroll to a particular section in this page”. Then you're going to scroll down and you're going to choose that section number from this dropdown (remember the number from before?), and then hit “apply” and that's it.
Now you can drop to any section that you want on the page!
Trick #5: Clone Pages in Kartra ⚡️
Next, I want to talk about cloning. This is something in Kartra you should just be doing across the board.
So for example, I will often need to create a thank you page. So I just type in thank you, then I look at a previous thank you page that I have already created, and then I click on the three little dots and hit “clone”.
And this is going to create an exact copy!
Rarely am I creating anything from scratch. For the most part, I am taking previous pages that we have branded and designed, and I'm cloning that and then making any small adjustments that I need.
So you can clone
Kartra pages
Email broadcasts
Email sequences
Products
Memberships
(There's probably more you can clone as well).
This is going to save you so much time ⚡️ Remember: You do not need to start from scratch.
Trick #6: Change Your Page Favicon ⭐️
The next trick I want to show you is how to change your favicon!
The favicon is the little icon that shows up next to your page name. For example, here, you can see my little L, and here you can see the K for Kartra:
If you want to make that custom, you're going to click on your profile picture top right, and then click “custom domains”.
You do need to make sure that you connect one of your domains to Kartra or you can connect many (which I've done). So if you just want to use your main website domain, if you already have another website, you can just create a subdomain to use in Kartra (that's why I have learn.louisehenry.com). Alternatively, you can use a brand new domain, like how I have uplevelwithasana.com.
You're going to click “edit domain”, and then you're going to click on this favicon button:

As you hover over it, it will create a pencil icon. Click on that and you are going to upload your file - and you want this to be really small. Generally you want it to be 100 x 100 pixels.
I have my little one for Uplevel with Asana. It's going to look blurry because it's small but don't worry, hit “confirm” and then “next”.
Now, that is going to apply for all of your pages that have that domain!
So that's where you upload the favicon itself. Then for any of your pages, you just need to set your domain.
To do that, I'm now going to publish the page live. Then click “get the page link” that will pop up and instead of linking to the link that Kartra gives me (because if I link to this, as you can see, that's going to display Kartra's K because it’s a Kartra domain) if I click on the pencil icon and I change this to uplevelwithasana.com, and now I go to that link and you're going to see that the favicon is our little up!
So that is how you change that. Just make sure to edit your page link and it will display correctly!
Trick #7: Host Webinars with Kartra 🎥
The next thing I wanted to share with you is more of an update and that is that Kartra has now added webinars to their platform. If you are on the silver plan or above, you will now be able to host webinars right here!
Recently I did use this software in order to host a webinar and it was fantastic. I really enjoyed using it as a presenter. It was really nice and clear. Everything worked super well. The connection was great and I liked how it was for viewers as well.
So let's do a quick demo!
Let's pretend we're going to set up a webinar. They actually give you so many different options for how you can customize this. Check out advanced configuration if you want that, but I'm just going to go into basic.
Let's say we are doing a scheduled webinar. It's pretty simple to set up. So I'm not going to walk through all of these steps, but I just want to show you what it looks like.
Our confirmation email is right here as well as all of our reminders - and I would definitely add those in.
Once we’ve created our webinar, let's go into the live room. This is what it looks like:

It has all the features that you could need like: uploading your slides, sharing your screen, showing you on camera, having a chat, and being able to display different offers.
I think it's a really fantastic platform and I will definitely be using it.
Let's pretend that I'm like sharing my screen. So that is how it looks:

If we go over to settings, you'll see that we have a lot of options here to. For example, we can customize the colour (which I feel I'm definitely going to do pink ones), and you can change your position on the screen when you're sharing as well as the size of that (which I like cause some other platforms you're like way too small). Important for you to know that all of this is now built in!
Now some people were complaining that the registration page is kind of ugly - which, they are not incorrect. This is what it currently looks like:

I'm sure that they will change that, but I did some testing this morning and what is great is you can actually use a landing page (that you’ve created) and then just connect your webinar to that.
I have a landing page that I’ve created and so instead of using this page here, what you can do is, with a button, you can click “link” and then scroll down to the option “link to a Kartra webinar”. Select your webinar and then use an “overlay pop up webinar”. Here’s what that would look like:
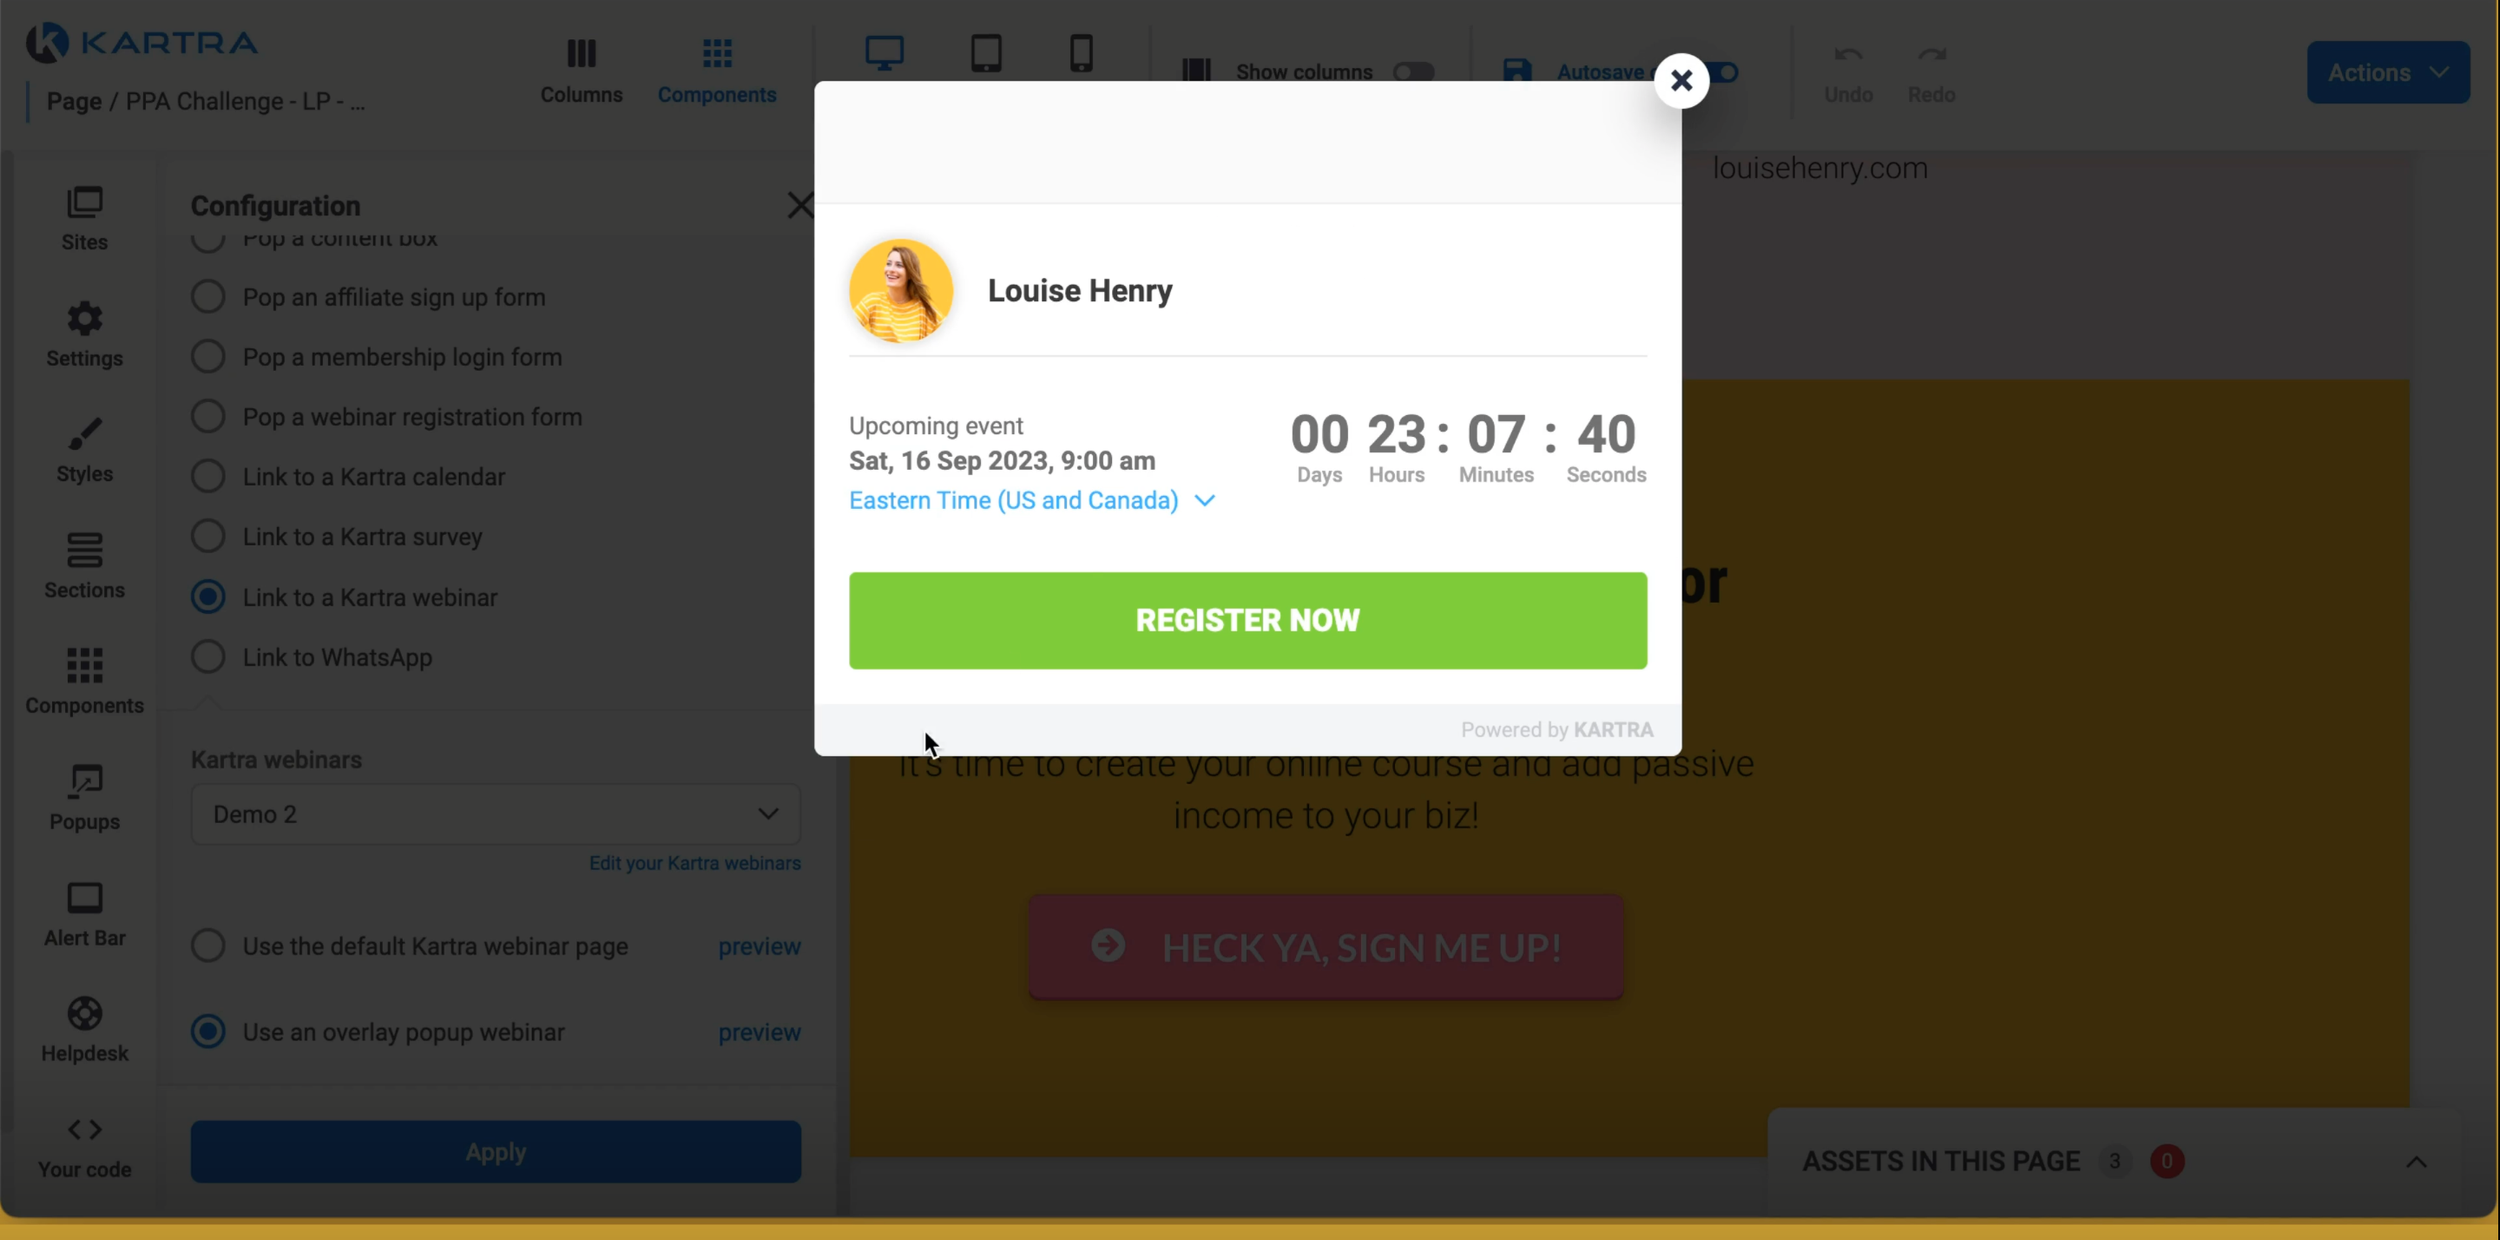
That's really not bad at all! So essentially your landing page will look exactly how you want, then this will pop up, your audience just clicks “register now” and they'll go through the process to sign up. Really nice and simple! And then it's all connected.
Let me know if you give Kartra webinars a try.
Trick #8: Using Kartra Campaigns ⚡️
Finally, I want to show you how to create your own campaign in Kartra.
Let's say you are at the point where you are doing launches. If so, there are lots of different emails involved - so you don't want to have to go through and like clone them all one by one for each launch.
So what you're going to do instead is go over to campaigns, click on the plus sign to add a campaign, and you're going to title this “your Launch assets”. Then, I'm just going to hit “save” and “next” and then “okay, I understand”.
Now, you're going to go to broadcasts - and we're just using the example of emails, but you can use this for any setup that you have for any campaign.
There are a ton of emails in order to pull off a challenge, right? So what I'm going to do is I'm going to add each of these to this campaign (and don't worry, you only have to do this once, and then you're going to use it over and over again!). So once you've added all of your emails in, you're just going to hit “save”, “save and next”. Then, you're going to select “no, keep it private”, and “save and next”.
Now you're going to click on my campaigns and you're going to see all your launch assets. Here's an example of this more fully built out:

You can see that there's really 40 assets in this campaign!
You're going to see those assets here. Now you're going to click on the three dots and then “share”, then “yes, I have read and agreed to the conditions” and then “generate a share code”. Then you're going to copy that code, go into “available campaigns”, click “import”, paste in the share code, "begin import, “close”. Great, now you’ve imported your campaign!
So now, anytime you have that launch, you're just going to click “deploy campaign”, put in the date. So let's say I'm doing a launch this month, I'm going to add that in, hit import, and that is going to automatically create copies of all of those different emails for me to now use for my current launch. Then, if I go into broadcasts, I will now see all of those emails right here, ready for me to go for September 2023.
This will save you a ton of time! And now, moving forward, all you have to do is click “campaigns”, go over to “available campaigns” and deploy it again for your next launch.
Alright, those are the tricks I wish I knew earlier. Will you be giving any of these a try? 🚀
GET YOUR FREE ROADMAP HERE:


Save time & mental energy by setting up Asana rules!